Maintaining a healthy lifestyle is hard when you’re always busy, find some time to squeeze in these daily workouts and you’d be glad you did.
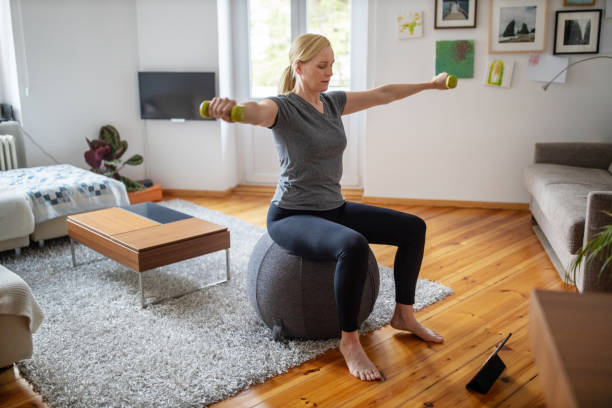
A home workout can be just as effective as working out in the gym, yoga provides the perfect balance as you can use your body weight and most household items to exercise.
Some people just do not like working out at the gym, either because of their busy schedules, body dysmorphia, or fear of judgment from others at the gym. Most mothers have a really busy schedule, between going to work and housekeeping there just isn’t enough time to apply for a gym membership.
Whatever your reason for wanting to workout at home might be, try these yoga poses as they can help keep you energised and fit without taking a lot of your time.
You might need some of these equipment’s for your home workout:
- Towels
- A chair
- Yoga mat
- Yoga blocks
Most of these poses are Beginner/Intermediate level, so you should catch on quickly. Remember to stay hydrated during your workout.
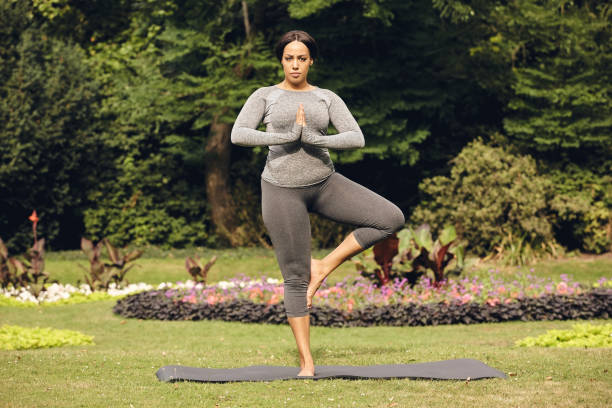
Tree Pose
Props Needed: None
Level: Intermediate
Benefits: Improves balance and body posture, opens hips, strengthens the core, helps with relaxation, and increases concentration.
How-to: In a standing position, keep both feet close together with your big toes touching each other. On the inhale, bend your right knee and place the sole of your feet against your left thigh. Move your hands into a prayer position, ensuring your standing feet stand straight forward, and your hips are square (pointed straight, not bent to the side). Stay in this position for 10 breathes.
Exhale while you slide your right foot back to the ground and return your hands to the side.
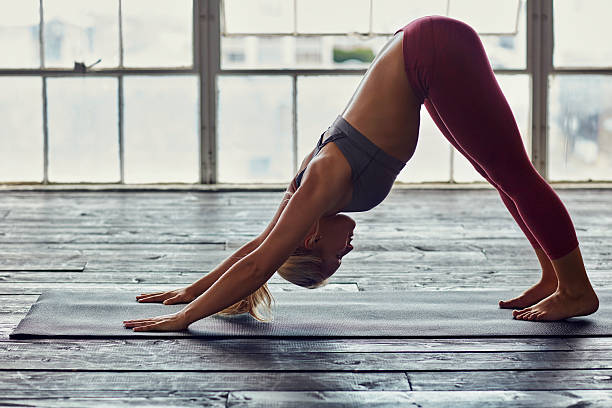
Downward Dog Pose
Props Needed: Yoga blocks
Levels: Beginner
Benefits: Stretches the hamstrings and shoulders, and strengthens the arms and legs. It increases the strength of the abdominal muscles while also helping to relieve chronic back pain.
How-to: Come to your hands and knees with your wrists directly below your shoulders and your hips underneath your pelvis. Curl your toes under your feet, lift your knees slightly off the ground, and push back through your hands lifting your hips high and straightening your legs. For better balance spread your fingers and dig them into the ground.
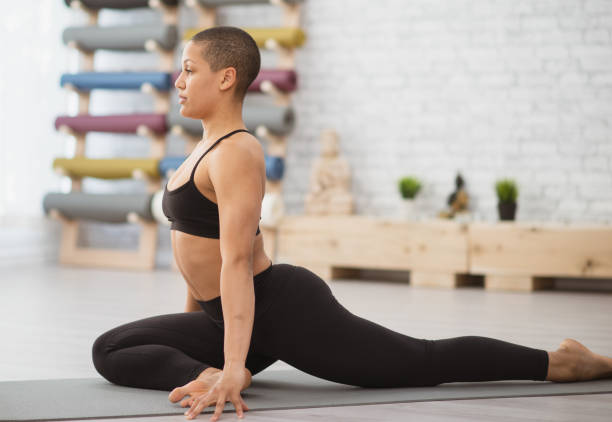
Pigeon Pose
Props Needed: Yoga blocks
Level: Intermediate
Benefits: Opens the hips and chest, stretches the lower back, hip flexors, and pelvis. It also improves flexibility in the spine. It’s a good exercise for people who sit for long periods as it stretches the back.
How-to: From a low lunge slowly bend your right knee towards the ground, keeping your right foot close to your left hip. Your left leg should be stretched out behind you with a pointed toe. With both hands at your side push the ground to lift forward (you can use yoga blocks for support), lift your chest upwards with your spine straightened. Lift your back upwards keeping it active with a slight backbend.
Plank Pose
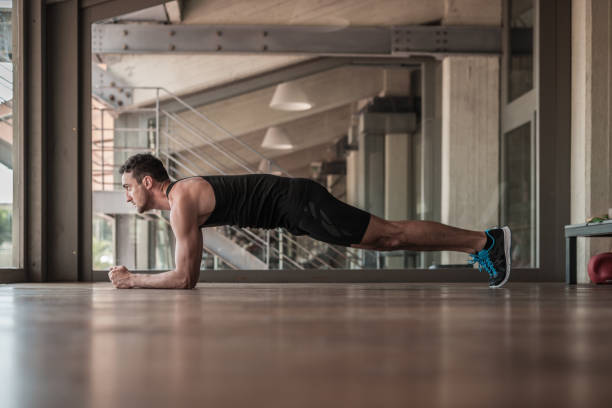
Props Needed: Yoga blocks (optional)
Level: Beginner/Intermediate
Benefits: It builds upper and core body strength, lengthens the spine, and strengthens the lower back muscles.
How-to: From all fours keep your wrists shoulder-width apart with your wrist resting directly under your shoulders, keep your fingers spread apart for a better grip. Press your hands into the floor, firm the upper arms in towards each other. With your core engaged and toes tucked underneath slowly push up into a high push-up position, keeping your body in a straight line from head to toe.
If you do not have enough arm strength, you can start off with bent forearms before lifting into a push-up position. Hold this position for about 30 seconds.
Bridge Pose
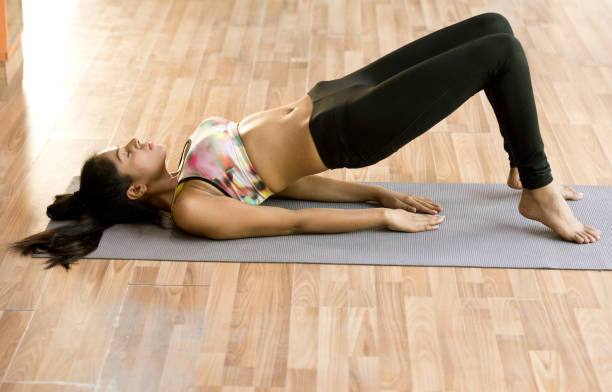
Props Needed: Yoga blocks (optional)
Level: Beginner
Benefits: It strengthens the lower back, increases circulation, calms the nervous system, and tones the abdomen. It improves posture and helps relieve lower back pain
How-to: Lie on your back with your knees bent and your feet on the mat, hip-distance apart, keeping your feet as close to your glute as possible. Keep your arms by the side of your body palms down. As you inhale, press down firmly through your feet and lift your hips. Press your upper arms down keeping your collarbones firmly beneath you. Continue to press down firmly through your heels and draw your thighs toward one another to keep them hip-distance apart (you can place a yoga block at your lower back to help you stay in position longer). Exhale as you release your hands and slowly lower yourself to the mat.
Backbend/Wheel Pose
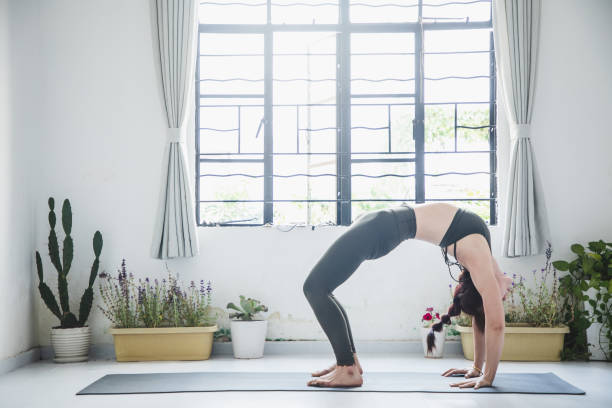
Props Needed: Yoga blocks
Level: Intermediate
Benefits: This full-body stretch stretches the shoulders, wrist, arms, legs, chest, lungs, and the entire spine, and the muscles around, the neck, abdominal muscles, and thighs are also stretched. This pose allows the lungs to get more oxygen making breathing easier.
How-to: Start off laying on your back with your feet bent and shoulder-width apart, your hands should lay by your side close to your ear with the elbows bent and fingertips pointing towards your feet. Inhale as you press down on your feet and palms lifting your hips and shoulders off the floor. Your chest should be open pointed forward with your eyes facing in front of you. Straighten your arms as you lift your head off the floor, pointing your chest towards the wall behind you as you begin to straighten your legs.
For an easier version, once you have lifted your hips and shoulders off the floor instead of fully straightening your arms you can rest your forearms on the floor.
Camel Pose
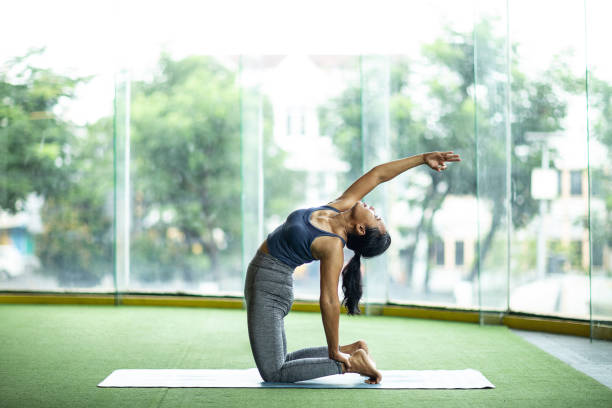
Props Needed: Towel, Chair
Level: Beginner
Benefits: It stretches your abdomen, chest, shoulders, and hip flexors. It also strengthens the back muscles, back of your thighs, and glutes. It Improves digestion and helps relieve back pain.
How-to: Fold the towel and lay it directly under your knee (it acts as a cushion). With the knees hip-distance apart tuck the toes under. Make fists with the hands and place them at the back of the pelvis. Bending the shoulders downwards, lean the torso back holding the heels of your feet for balance.
An easier modification can be done with a chair. Keep a chair behind you as you start off with your knees hip-distance apart and your toes tucked under. As you bend your shoulders backwards rest your hands on the chair behind you, the chair provides stability and support.
Butterfly Pose
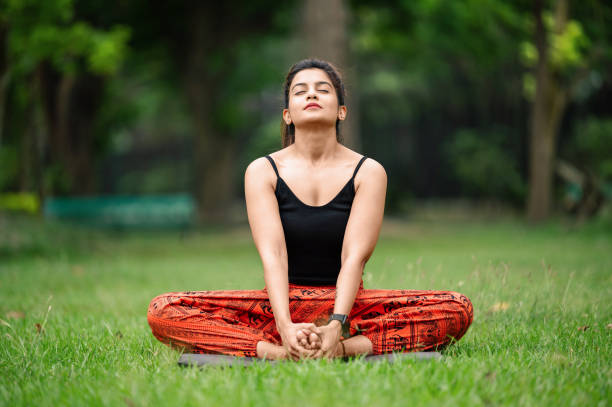
Props Needed: None
Level: Beginner
Benefits: It improves flexibility and opens the hips, idle for people who sit for long periods of time.
How-to: In a seated position gently bend your knees to the floor as far as you can go and press the soles of your feet together. Place your hands on your ankles or shins as you straighten your back and broaden your chest.Draw your shoulders down and back inhaling and exhaling slowly for up to 1 minute.
Try these poses whenever you have some free time, consistent practice can help improve your day to day life. There’s no better way to start your day than with some endorphins through exercise.
Leave a Reply